From Your Phone to Your Wall: How to Print and Frame Your Favourite Photos
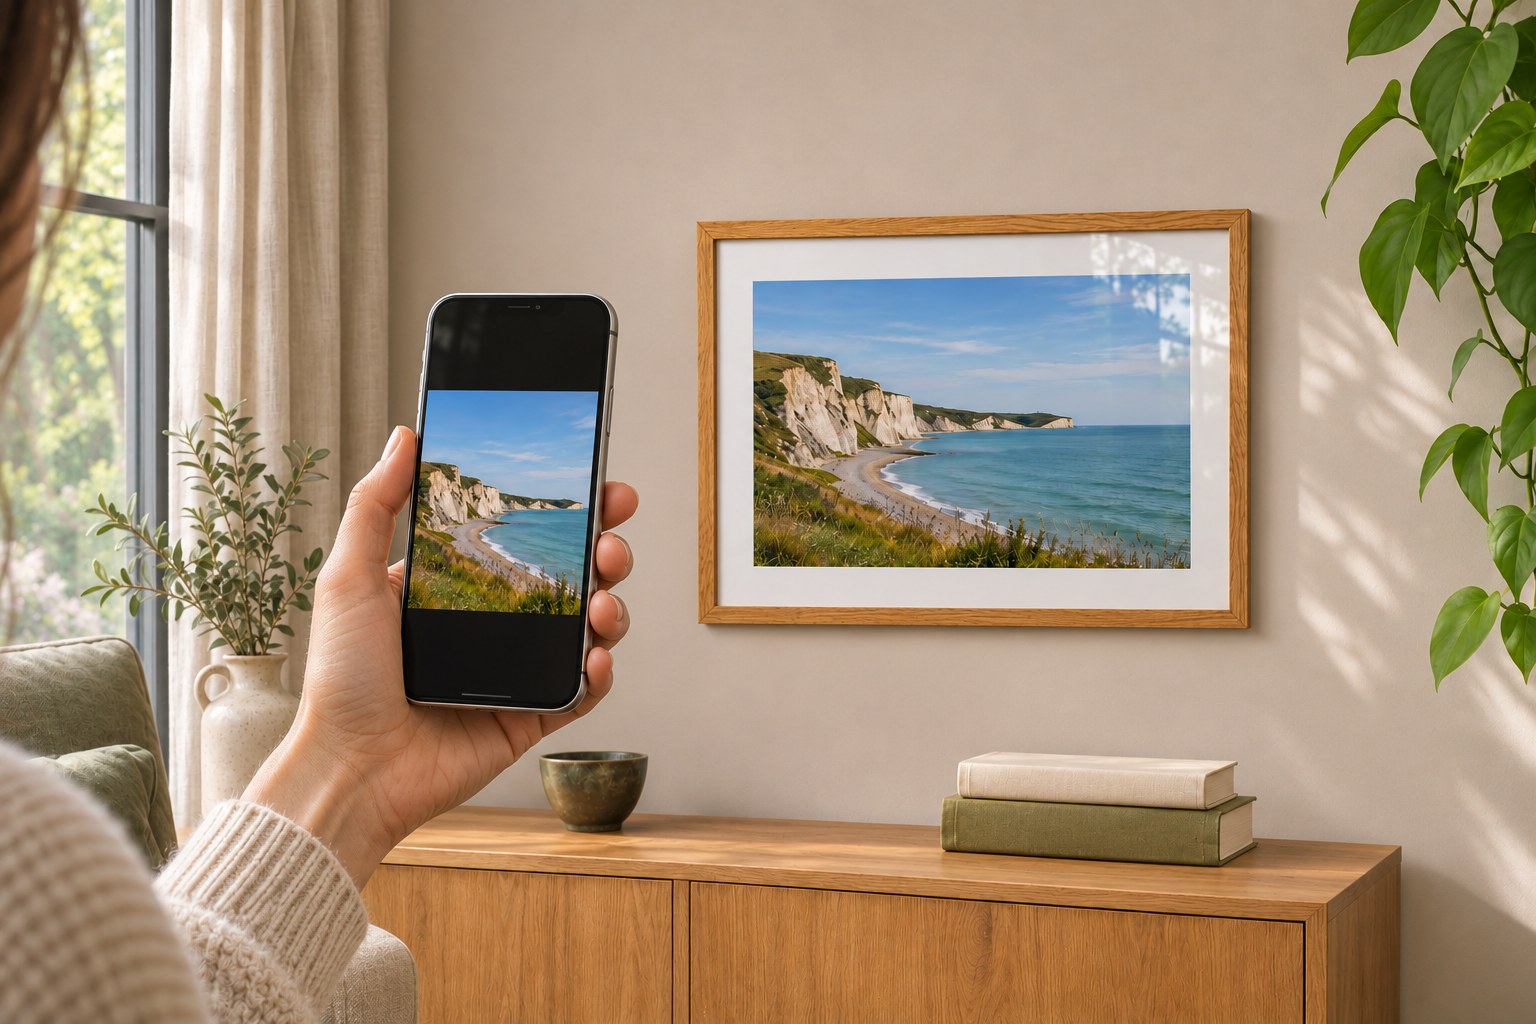
You probably have a photograph on your phone that deserves more than the occasional scroll past. A favourite place, a family afternoon or a pet caught doing something ridiculous. It does not need to have been taken on a professional camera to earn a place on your wall.
Turning it into a framed print comes down to a few manageable choices: use the best version of the file, choose a sensible size and check how the picture fits. Here is how to work through them without getting lost in photography jargon.
Choose a photograph you want to live with
Start with the picture, rather than the frame. Pick a small shortlist and ask which image you would enjoy seeing every day. A photograph can be meaningful without being technically perfect, but it helps if the important details are clear.
Zoom in on faces, eyes or the main subject. Check for blur, especially in photographs taken indoors or after dark. A tiny preview can hide softness that becomes more noticeable in a larger print.
Look at the edges too. Is there room around someone's head? Is a distracting object pulling your eye away from the subject? You can improve the composition with a crop, but it is easier when the original leaves you some space to work with.
Find the best version of the photo
Use the original camera file, or a full-quality edited copy, wherever possible. A screenshot of a photograph is a new image of your screen; it is not the same file. Pictures downloaded from social media or passed through messaging apps may also have been reduced in size.
If someone else took the photo, ask them for the original rather than saving the preview from a conversation. If your photographs are stored in the cloud, download the image itself instead of taking a screenshot. Apple's guide to downloading iCloud photos and Google's photo download instructions can help you find the file.
You do not need to abandon an older photograph just because the original is unavailable. It may still make a lovely smaller print. Upload the best copy you have and pay attention to any quality warning before choosing a large size.
Choose a print size that suits the photo and the room
There is no single maximum print size for every phone photograph. The amount of detail in the file matters, but so do focus, lighting and how much you crop away. A sharp photograph with plenty of detail can offer more flexibility than a heavily cropped or blurry one.
Start by thinking about where the finished frame will go. A small picture beside a reading chair has a different job from a statement print above a sideboard. You can hold a sheet of paper in the intended spot to get a feel for the scale.
Remember that photo size and outside frame size are different. The frame surround adds to the overall dimensions, and a mount adds a border around the photograph. Check the finished measurements when judging whether it will fit your wall.
If the upload tool flags a quality concern, try a larger original, a less severe crop or a smaller print. A quality check helps assess the file, but it cannot turn an out-of-focus photograph into a sharp one.
Understand the crop before you commit
Sometimes a photograph and a frame are simply different shapes. To fill the chosen space, part of the image needs to sit outside the crop.
For example, a landscape photo with proportions of 4:3 fits the shape of an 8 × 6 inch print. A 6 × 4 inch print is a wider shape, so filling it would trim some of that photograph. This is about proportions, not whether the phone took a good picture.
With our Any Size Picture Frames, uploading a photo with different proportions can offer you two choices:
- Keep this frame size: keep your chosen dimensions, then decide which part of the photo to include.
- Resize frame to fit: use the suggested dimensions to match the photo's proportions.
Check the suggested measurements as well as the picture. If the shapes already match, there is no need for that comparison. You can also rotate the frame when you want to switch between portrait and landscape.
Whichever option you choose, keep important details comfortably inside the edges. The frame or mount still overlaps a small amount of the print to hold it in place.
Let the frame work with the photograph
Think about both the picture and the room. A slim black frame gives a photograph a defined edge. A wood finish can sit comfortably alongside timber furniture, while white can feel quieter against a pale wall. These are useful starting points, not rules.
A mount is the card border between the photograph and the frame. It gives the image breathing space and can help a smaller photo feel more substantial on the wall. If the photograph is already busy, a simple frame and neutral mount often keep attention where you want it.
If you prefer familiar sizes, browse ready-made picture frames and look for the Print & Frame label on supported products. For a group of photographs, collage and multi-photo frames bring them together in one display. Check each opening's shape and crop separately.
Make a light edit, then check the preview
Straightening a horizon or making a modest adjustment to brightness can help. Keep a copy of the original so you can return to it, and save an edited version at full quality when your app offers that choice.
Avoid relying on heavy sharpening or enlargement to rescue missing detail. Strong filters can also leave skin tones or skies looking less natural when printed.
Your phone screen is lit from behind; paper reflects the light around it. A print will not glow in the same way, and an unusually bright screen can make a dark photograph look more forgiving. Review the image at a normal screen brightness and use the preview to check the composition, rather than expecting an exact colour match to every screen.
From upload to a finished framed print
Once you have chosen your photograph, the ordering process is straightforward:
- Choose your frame and size. Start with Any Size Picture Frames, or a ready-made product that offers Print & Frame.
- Add your photograph. On an Any Size product page, choose Upload Photo in the Printing section.
- Review the fit. Check any size choice, adjust the crop where needed and look closely at the important details.
- Check the finished selection. Confirm the frame, mount, dimensions and quantity, then add it to your basket.
With Print & Frame, we print your photograph on 260gsm Premium Lustre photographic paper and professionally fit it into your chosen frame. There is no need to order a separate print and assemble it yourself.
If you are unsure about a file or size, ask our team before ordering. Otherwise, choose one photograph you keep coming back to and find a frame for it. It is a much nicer place to enjoy it than the bottom of a camera roll.