How to Make a Statement with Picture Frames
A picture display does not need to fill a wall to make an impression. One well-placed print can be enough. A group of family photographs can be just as effective when the frames, spacing and surroundings work together.
Start with the pictures you want to live with, then plan the arrangement around them. These ideas will help you decide what to emphasise, how to connect different pieces and where a custom size can make the layout easier.
Choose a focal point before choosing more pictures
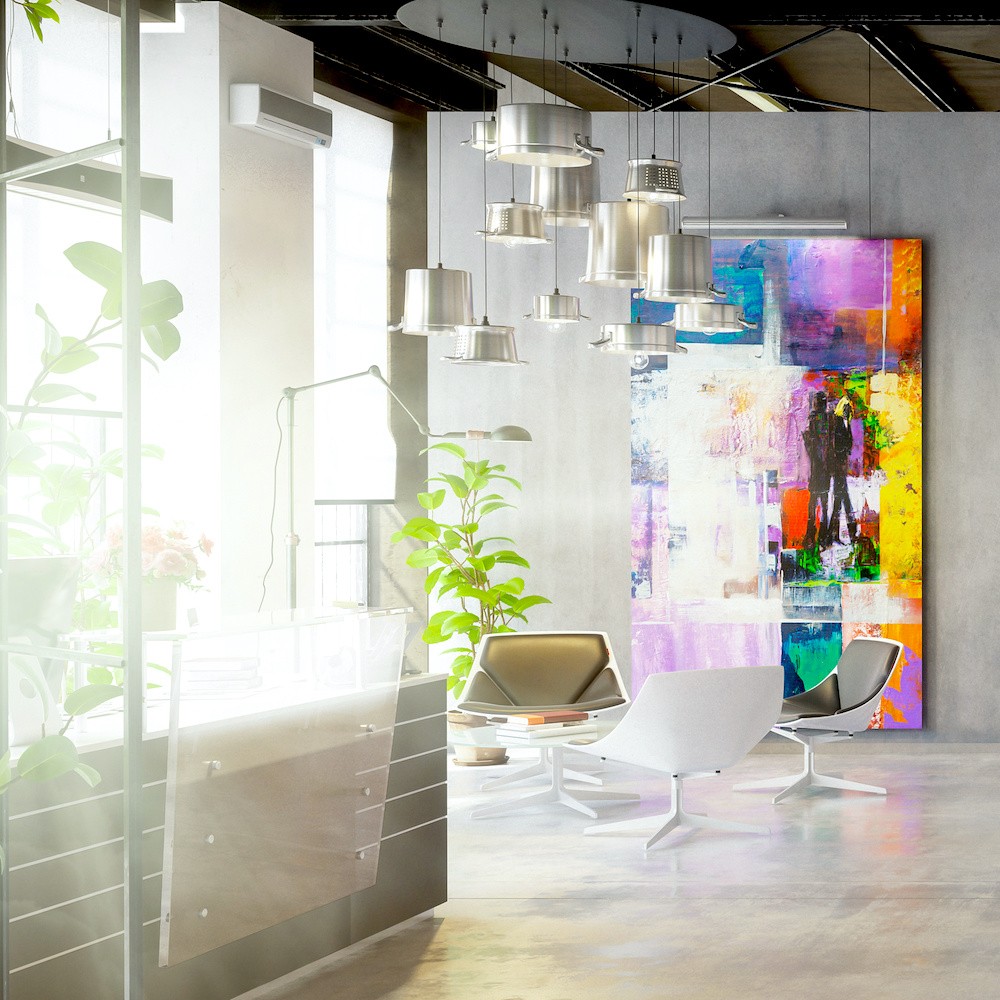
Pick the image you most want people to notice. It might be the largest piece, the most colourful photograph or the one with the strongest personal meaning. Give that picture a clear place in the arrangement before adding anything around it.
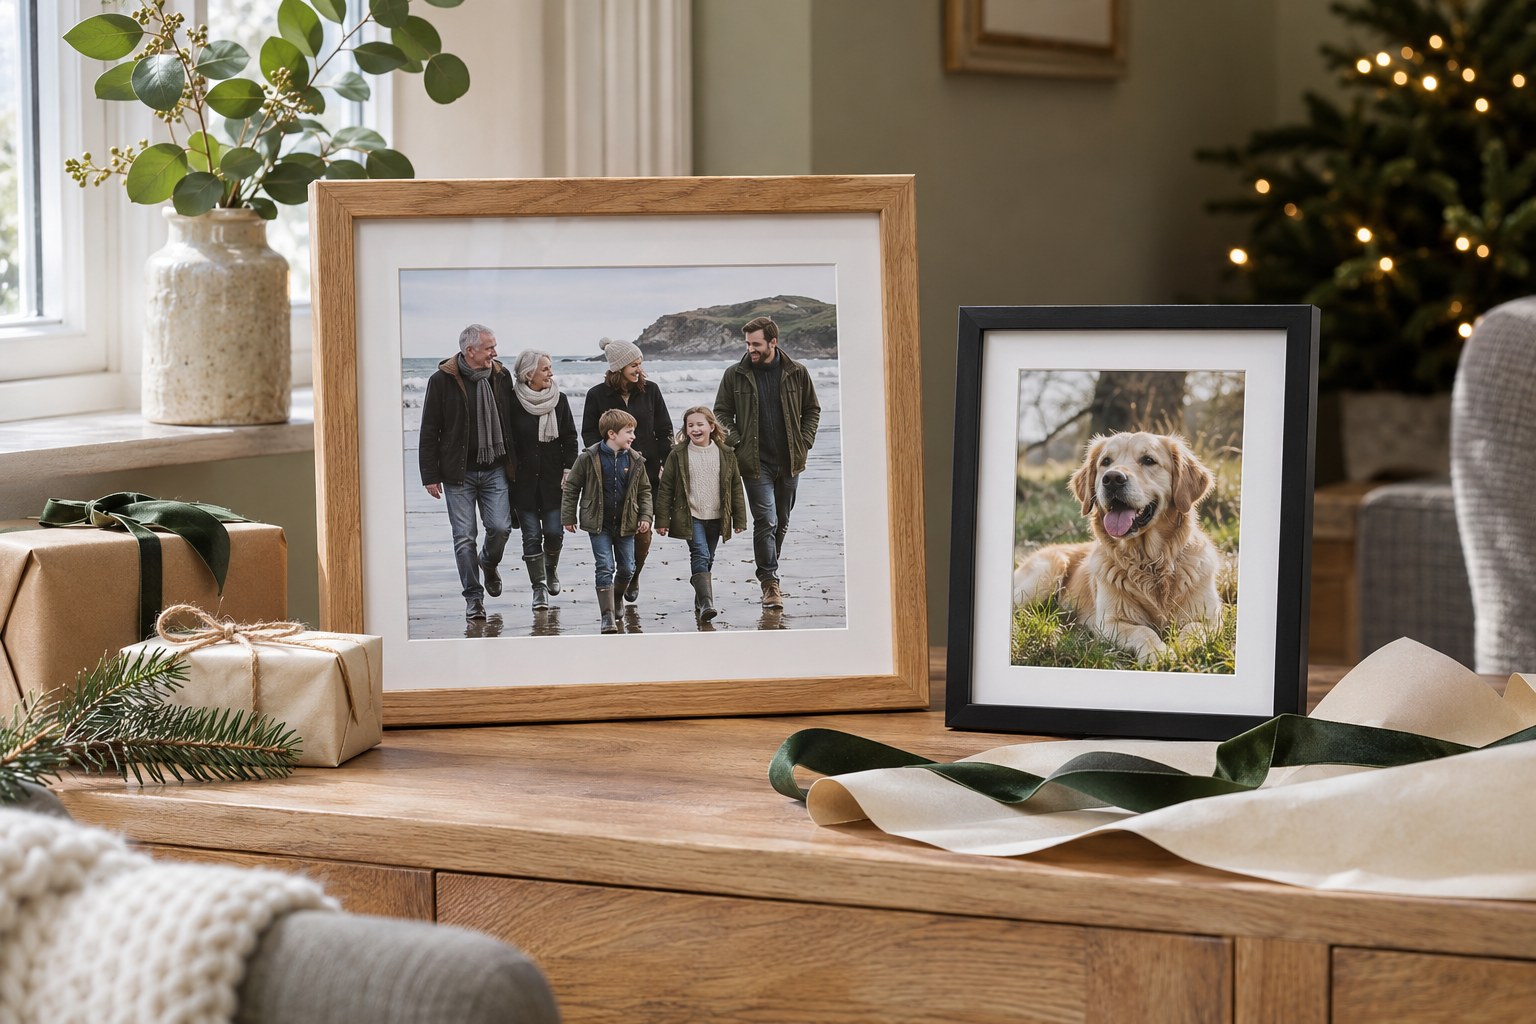
Above a sideboard, for example, try one landscape photograph with enough space around the frame for the furniture and lamps to remain part of the composition. If the image is a panorama or another unusual shape, Any Size picture frames let you keep its proportions.
You can also upload a digital photograph for Print & Frame on the chosen frame's product page. Check the full image and crop before ordering, especially when people or important details sit near its edges.
Match the scale to the space
Judge the finished frame, not just the print. The mount and moulding add to its outside dimensions, and a generous border can give a small image more presence.
A long wall above a sofa might suit a wide picture, a pair or a group. A narrow wall beside a doorway may work better with a vertical arrangement. Treat these as options to try rather than fixed design rules.
Cut paper templates to the proposed outside sizes and place them on the wall with a method suitable for its finish. Check that any adhesive is safe for the surface first. Stand back, sit in the room and walk past the display: the arrangement needs to work from the places where you will actually see it.
Give a gallery wall one clear connection
A gallery can mix different sizes, subjects and frame styles without feeling random. Choose one thing to repeat, such as a frame colour, a mount colour or a theme within the photographs.
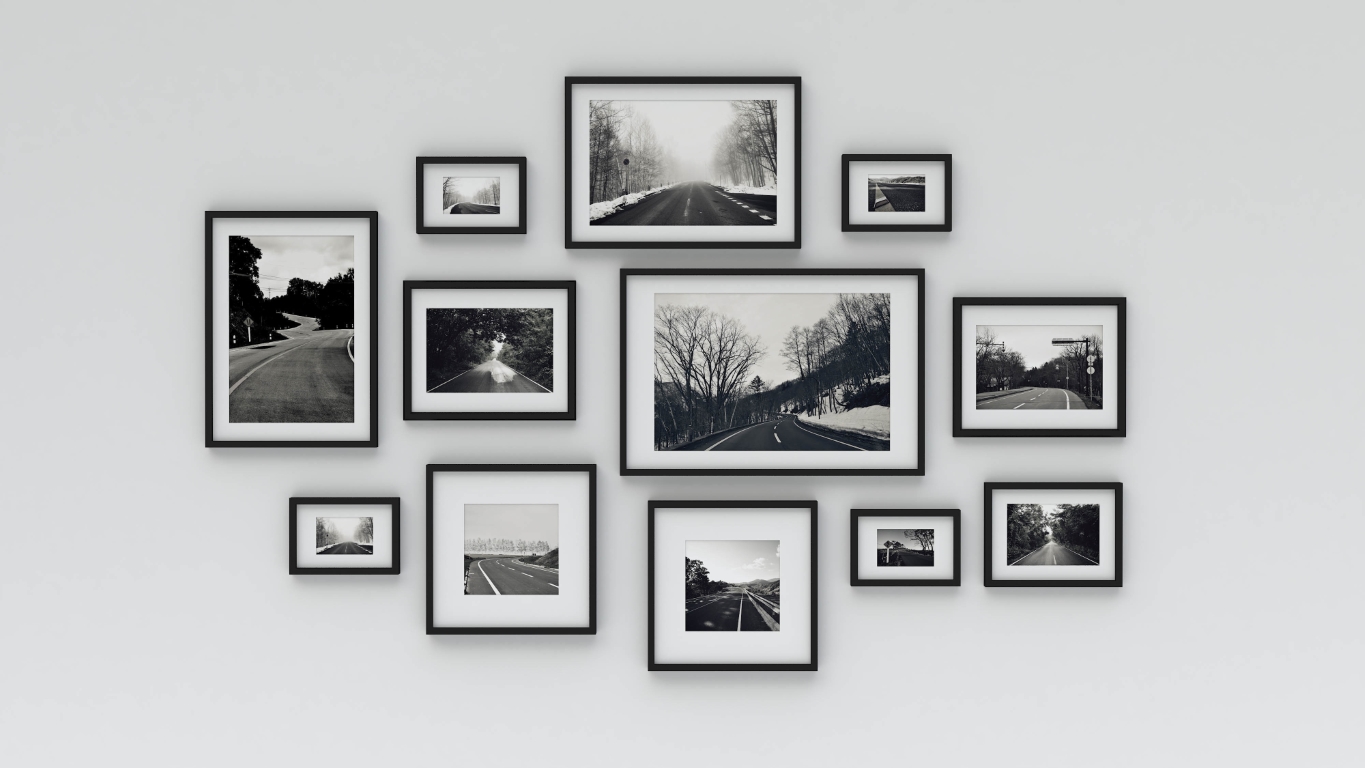
- A quiet grid: use matching frames and similar image sizes, with the rows and columns aligned.
- A family collection: mix portrait and landscape photographs, but repeat a frame finish or mount colour.
- A collected look: combine different frames around one larger picture, with a limited colour palette tying the group together.
For example, a set of holiday photographs can mix beaches, portraits and buildings. White mounts and natural wood frames can connect the images without requiring every photograph to have the same colours.
If you want several pictures in a simpler arrangement, a multi-photo frame keeps them together within one outer frame.
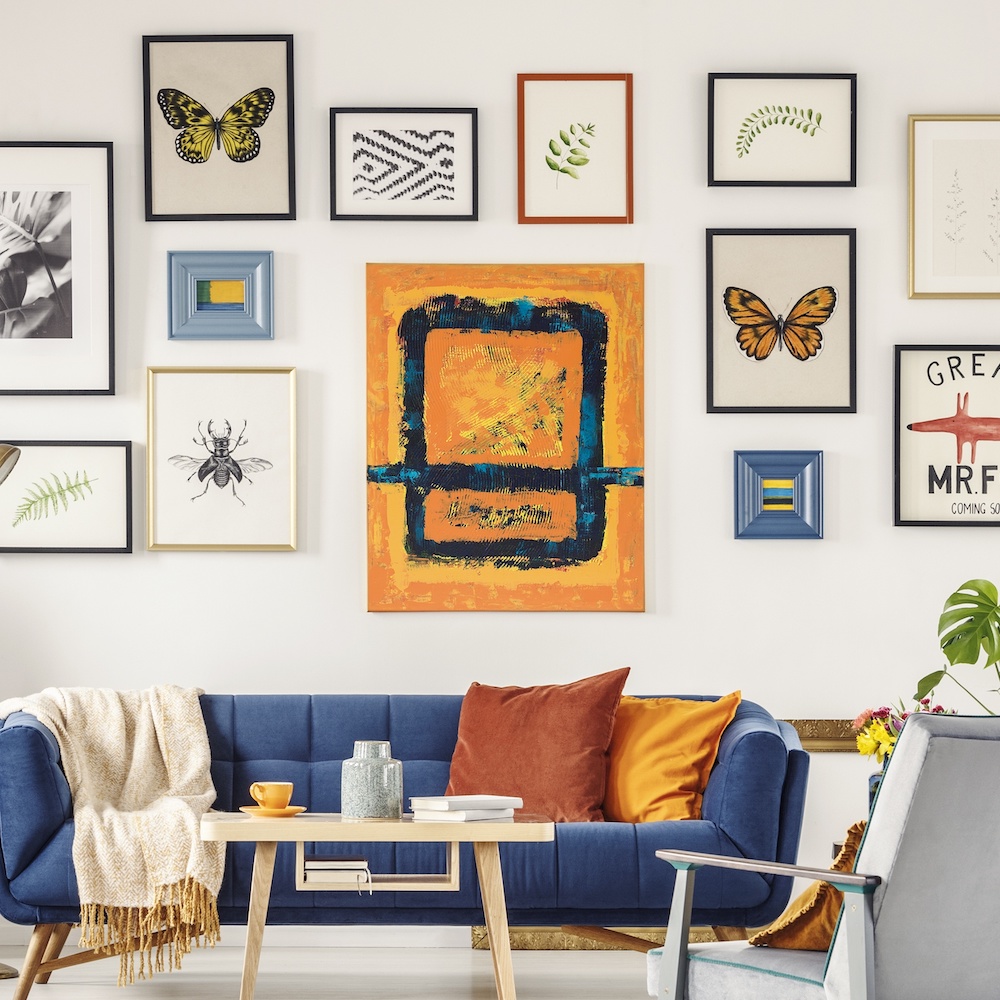
Different frame finishes can work together when colours and subjects repeat across the display.
Use spacing to make the group feel intentional
There is no single correct gap for every display. The right spacing depends on the frame sizes, the number of pictures and the wall around them. Start with gaps that look consistent, then adjust the arrangement as a whole.
Lay the frames on the floor first. For a neat grid, measure the spaces between the outside edges of the frames. For a looser collection, find a few shared lines: perhaps the top of two frames, or the centre of the whole group.
A display can feel disconnected if the gaps overpower the pictures, but crowding every frame together can be equally distracting. Leave enough surrounding wall for the collection to read as a group.
Let the frame and mount support the picture
Black and white frames are useful starting points, but they are not the only way to make a display feel coordinated. Wood can introduce warmth, a metallic finish can echo a detail in a room, and a stronger colour can pick up a smaller accent in the image.
Try changing one element at a time. Compare the same picture with a different frame finish, then change the mount. This makes it easier to see what is helping rather than replacing the whole combination at once.
Our made-to-measure designer lets you explore those choices together. If you already have frames you like, new picture mounts can bring more consistency to a mixed collection.
Use ledges and shelves for displays you can change
A picture ledge suits a collection you want to rearrange. Vary the heights and overlap frame edges lightly, while keeping the subjects visible. Leave some empty space rather than filling every centimetre.
On a bookcase, a small standing frame can sit among books and a few other objects. Repeat a colour or material nearby to connect the picture with its surroundings, and check that the frame is designed to stand.
For ledges, follow the shelf's load limits and fixing instructions. Larger leaning frames may need restraint so they cannot slide or tip. A relaxed-looking arrangement still needs to be secure.
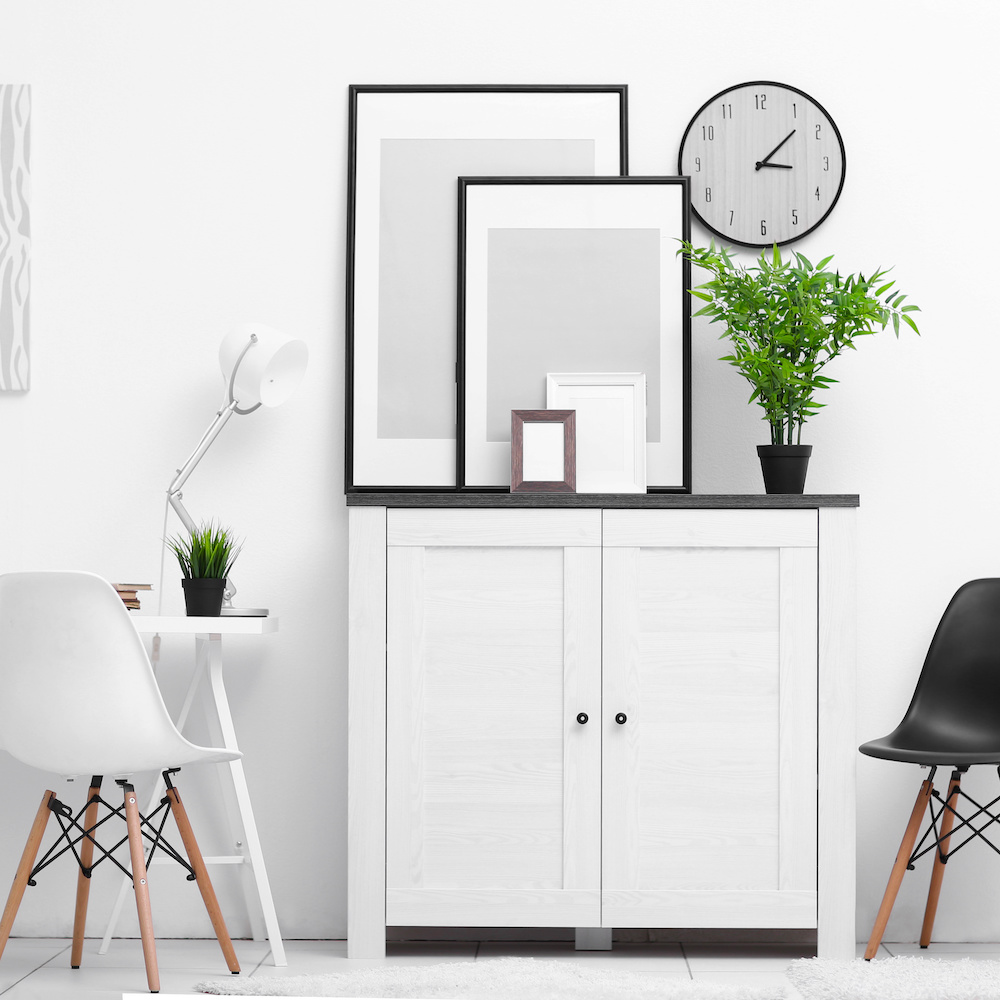
Varying the heights gives a simple display more interest without filling the whole surface.
Make hallways and workspaces personal
A hallway can hold a sequence of memories: family portraits, places you have lived or photographs from different trips. In a stairwell, plan the whole group before fixing anything, and think about how it looks from both the top and bottom of the stairs.
A workspace may suit a smaller selection. Choose one or two pictures that you enjoy looking at, then check their position from your chair. Avoid filling the wall simply because space is available.
Smaller images can work well in social spaces too. A compact grouping beside a dining area gives people something to look at closely without needing a large feature wall.
Keep informal displays appropriate to the pictures
Not every photograph needs to be framed. A temporary display of copies on a string, or lightweight prints attached with washi tape, can be a pleasant way to try out a theme.
Keep valuable originals and irreplaceable photographs out of these experiments. Adhesives can mark pictures and wall finishes, so test the surface and use replaceable copies. If a temporary grouping becomes a favourite, you can then choose frames for a more finished display.
Consider the furniture, light and wall around the display
Pictures usually feel more connected when you consider the furniture below or beside them. Try relating a group to the width or centre of a sideboard, rather than automatically centring it on the entire wall. A single picture can also sit off-centre when it balances another feature in the room.
Look for distracting reflections at different times of day. Keep valued paper artwork away from direct sunlight, damp and strong heat; a space above a working fireplace may not be suitable. For hanging, choose fixings appropriate to the wall and finished frame weight, and seek professional help if needed.
Once the position works, stop adding things. A few pictures with a clear relationship often give you a more satisfying display than a wall filled simply to use the space.
If you have chosen your pictures but are unsure how to measure for the frames, our beginner's guide to framing explains the next steps.